Sunday, March 26, 2006

Week 5 of the Kitchen Remodeling project

Another week, but now we're mostly on our own. The lights are hung and the panels are all back on the counters. We've painted the back door and papered the kitchen with anaglypta.


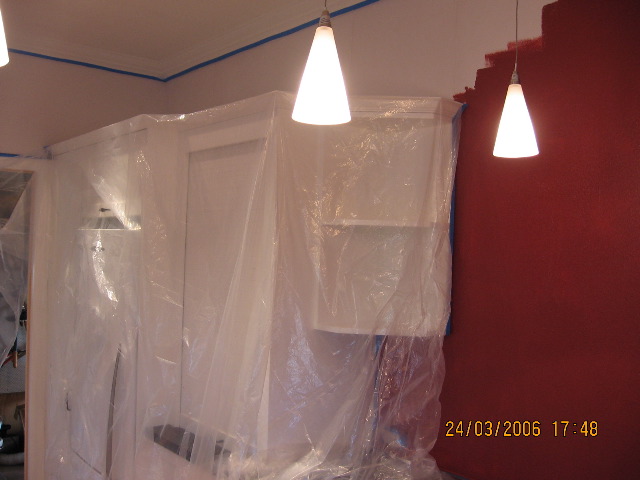
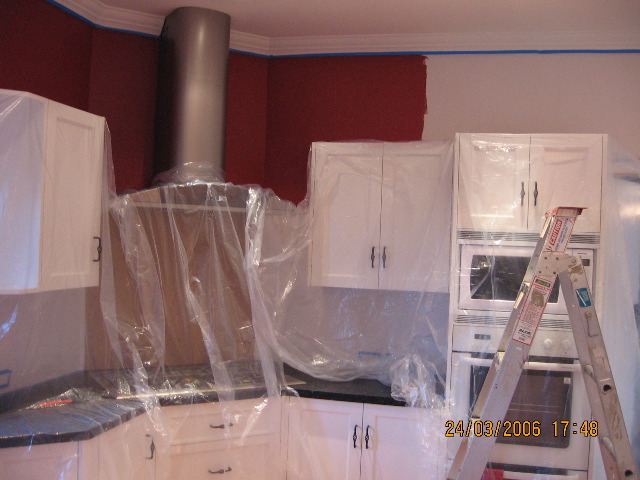
Then on to the painting. The worst thing about painting is the preparation. We went through a lot of plastic drop cloths in the process. Note the lovely blue masking tape all along the ceiling trim.


We had to do it in two stages. First we did the area to the side of the cabinets as you can see above, then we put two coats on the area above the cabinets.


We had to shift all the plastic to cover just the lower cabinets while we painted the area between them and the upper cabinets.


And of course that area had to get two coats as well.


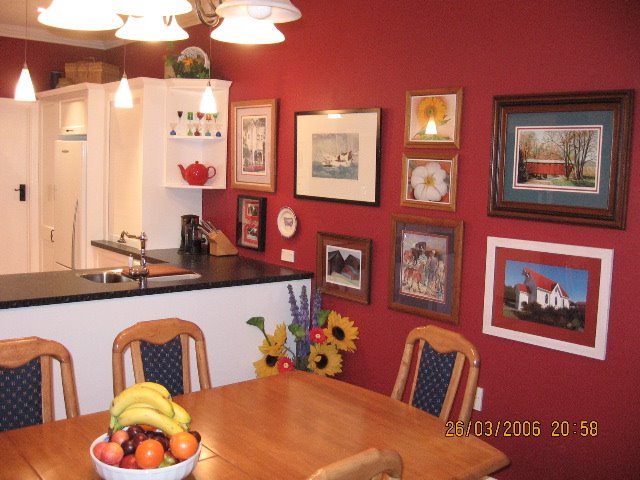
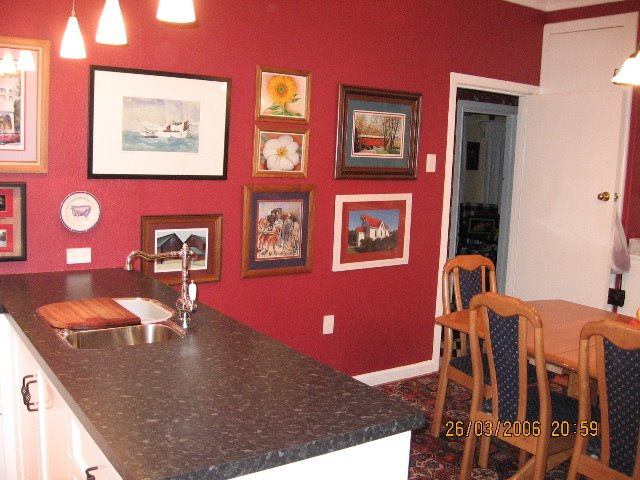
Finally, Karen got to do the decorator thing and start putting her touch on it.


Some of it was a matter of trial and error. We shifted baskets and paintings several times before it looked right.


But it all came together very nicely.


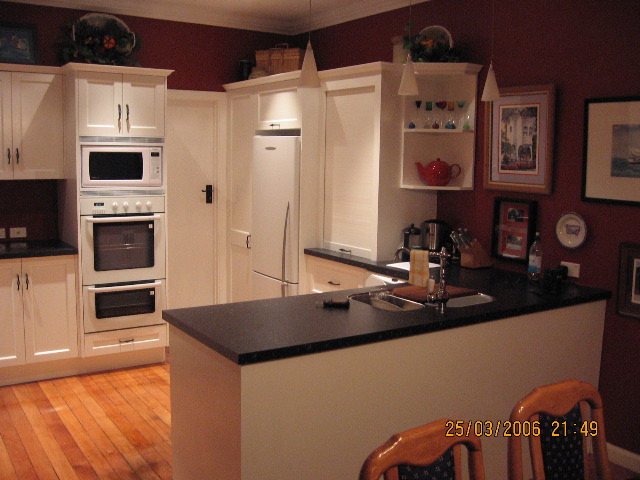
The only thing left is the mosaic we plan to put over the stove. That's the big brown space in this picture.


This is looking from the kitchen through the dining room to the doorway leading to the rest of the house.

Sunday, March 19, 2006

Week 4 of the Kitchen Remodeling Project

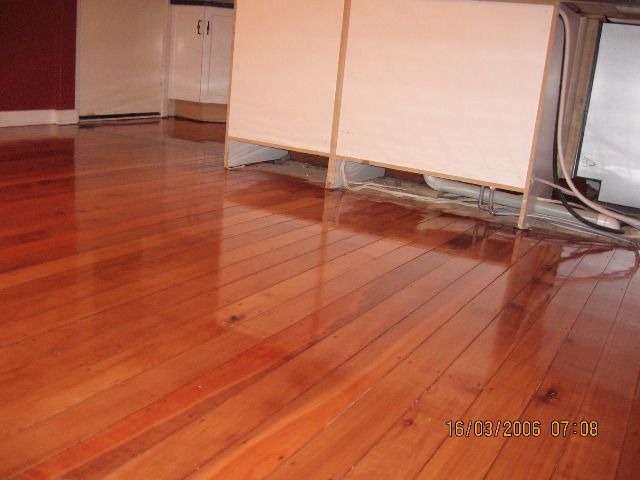
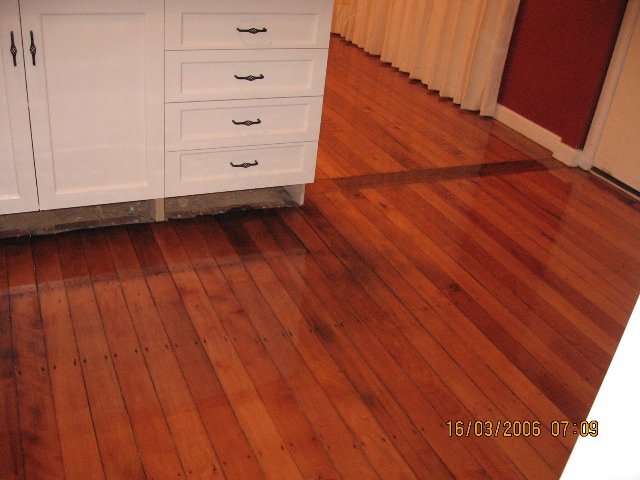
Monday we had our dining room and kitchen floors sanded and refinished. We had two more coats of varnish applied on Tuesday and the result is pretty spectacular as you can see in the next two photos.


Of course, the inconvenience of being totally banned from all things in the kitchen was pretty drastic. We had the fridge and the old microwave in the sun room, but forgot to get out such basic things as cereal before we were unable to get to them. The fumes were pretty potent as well.


Friday evening the builder came by to bring in our new fridge. Unfortunately, it is hinged on the wrong side and not reversible. The vendor said they would swap it out next Monday, but in the meantime we couldn't use it. Still, it looks pretty and is a bit bigger than our old one.


It seemed a shame to hide that beautiful Southern beech floor with a rug, but that's part of the decor. By Saturday the floor had cured enough to start putting things back.


Saturday we put a fresh coat of paint on the sideboard, washed all the dishes that were covered with sanding and construction dust and put everything back in place.


We also painted the new back door and door trim. They call door trim architrave here.


Sunday was very busy. We put up all the new anaglypta paper on the walls and it was a bear. (It's a textured wall covering--damned hard to deal with! Every piece was a "cut and fit.") We're not looking forward to painting it. I've been trying to convince Karen that white looks nice. We also finished moving everything out of the sun room, put two coats of polish on the floor in there and moved all the furniture that goes in the sun room back from the garage. Things are shaping up, but still not done yet (note the wires hanging from the ceiling, the wrong fridge and the white walls.)

Karen has already gone to bed. We are both pooped! But her new knee is amazing! It's not the knee that gave out--it was everything else!!

Sunday, March 12, 2006

Week 3 of the kitchen remodeling project

We've been waiting for plaster to dry as the jib stopper has completed the kitchen ceiling. Wouldn't you know it would be cold and rainy? We finally had to turn on the furnace and put a fan on it to speed it along. We also had to postpone the floor refinishing until next week. So, since there is not much progress to show, other than a beautiful ceiling, here are a few photos of some of the features in our kitchen. This first is showing the double silverware drawer.


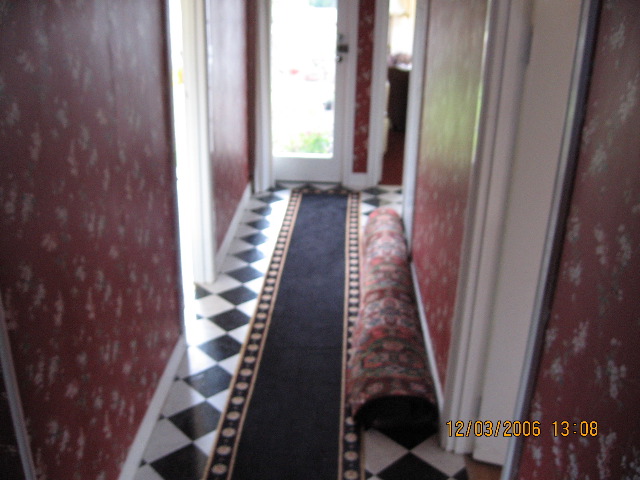
The rug we have in the dining room has been rolled up in the hallway since the project started.


Plates, glasses, bowls all go in drawers.


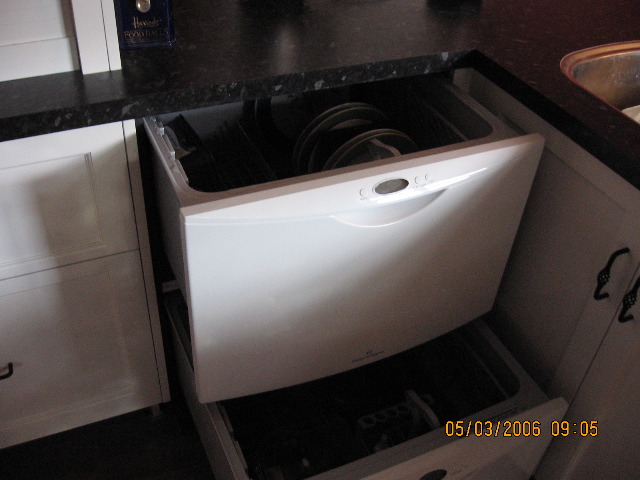
Speaking of drawers. Here's a shot of our double dish drawer. This is a kiwi version of a dishwasher.


The dining room table and fridge have migrated to our multi-purpose sun room ready for the floor to be sanded and refinished. The sun room has been a lounge, Jamie's bedroom, my office, and now a makeshift dining room.


Ah, the toaster drawer. The electrician wasn't too sure about this, but it works. The power is shut off when the drawer is closed. That toaster is a gem. You should see it do bagels!


Looking back over our new counter at the dining room, all cleared and ready to be sanded.


How about this for a cook surface? This gas hob has 5 burners! Karen loves the big center one.


What we've been waiting on--the ceiling. It is certainly a much better job than I could have done. No signs of a seam anywhere.


One last look at the kitchen to date. We're gradually working out the best location for things. I put the microwave in myself. Then I couldn't figure out how to turn it on until I read the manual!

Sunday, March 05, 2006

Week 2 of the kitchen remodelling saw a lot of invisible work being done: wires pulled, ceiling/roof reinforced, leveling and fitting done. These are all necessary, but not nearly as impressive as the big changes we saw in week 1. The plumber came in Saturday and hooked up that funky faucet. You may have to click on the picture and blow it up to appreciate it. And yes, that is a box of Finish sitting on the counter. We've got a dishwasher! (actually, two dish drawers). You can see the double oven in the background with a red tea towel hanging on it.

We've had to learn a whole new vocabulary re: building in New Zealand. We don't have faucets, we have tapware; we don't have cabinets or cupboards, we have joinery; we don' t have sheetrock, we have jib board; we don't hire a seam taper, we hire a jib stopper; the applicance cupboard is an "appliance garage (pronounced "garridge"), and we don't have countertops, we have benches. All measurements are metric instead of imperial--we're never sure how big something really is! However, there are some odd holdovers from "the old days"--two-by-fours are still called that, except they are called "four-by-twos"--anyway, it's been, shall we say, "interesting."


Here's a closer shot of the doorway to the garage and I took the tea towel off the oven to show it off better. This is so exciting!


Back around to the right for another view of the sink and a look at those lovely dish drawers. Zoom in for another look at that faucet Karen picked out. I wasn't so sure about it when she picked it out, but now I really like it.


End of the week and we've moved into the new joinery. I took the gas hob out of its box and set it in place, ready for the gas fitter to hook it up next Monday. Since we don't have natural gas here, this will be driven by bottled gas, the same as our furnaces.


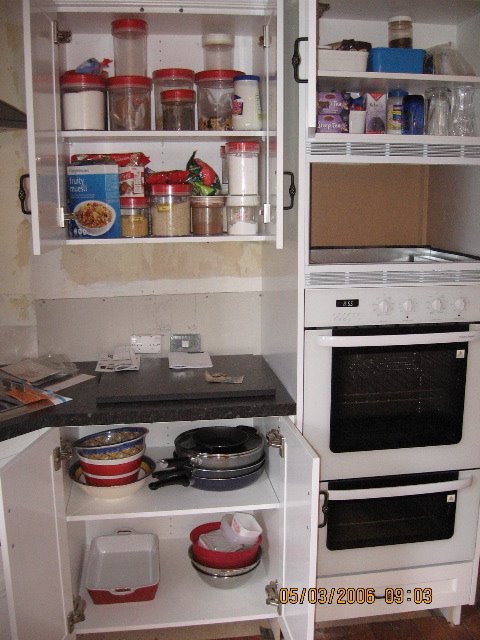
More shots of our first attempt to utilize our new storage. It is going to take awhile to get it right. The microwave that will go in the space above the ovens is still in the garage.


The fridge will go in the big hole in the middle there, but is waiting for the foor to be refinished before being moved in from the garage. That is a pantry with pull-out drawers on the left. Amazing what you find when you can see what you've got, like 5 cans of beets. Karen says were going to have beets with every meal now. On the right is our appliance cupboard with the roll-top door.

Friday, February 24, 2006

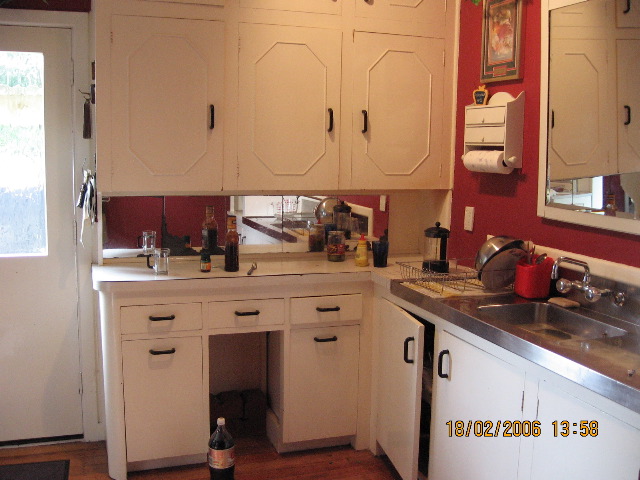
In the time-honored tradition of remodelling, we've got some 'before' shots to show how things were before we started. The pictures look pretty good, thanks to Karen's abilities as a decorator, but the cabinetry was old, the doors wouldn't stay shut, they constantly 'leaked' sawdust, and the sink area leaked water.


The stove had one burner on its last leg and the cabinets on either side of it were just inserts, not attached to anything, with counters that didn't match.


Our house has an art-deco flavor and the kitchen continued this theme with rounded corners on the cabinets. That was the one thing we hated to lose.


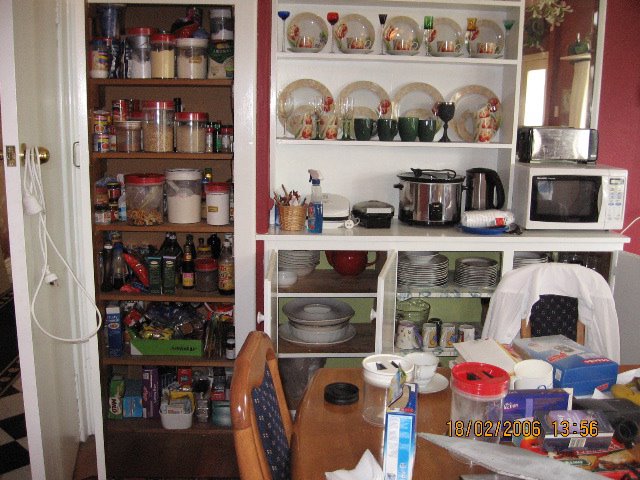
And where do you put all the things that were in the cabinets while they are being replaced? Anywhere you can! We shifted some things in the cabinets along the dining room wall opposite the kitchen and made room for the food and dishes. Most of the pots and pans went in boxes to the storage shed.
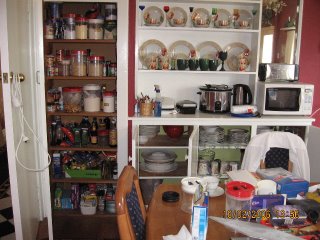


Decorations down, cabinets empty, all ready for the builders. What a change from our Do It Yourself days.


Unattached cabinets moved out, stove pulled out and cleaned up around (yuck, what a mess--Karen had lost a whole plate of spaghetti down between the cabinet and the stove several months ago. You know, it was still there!)


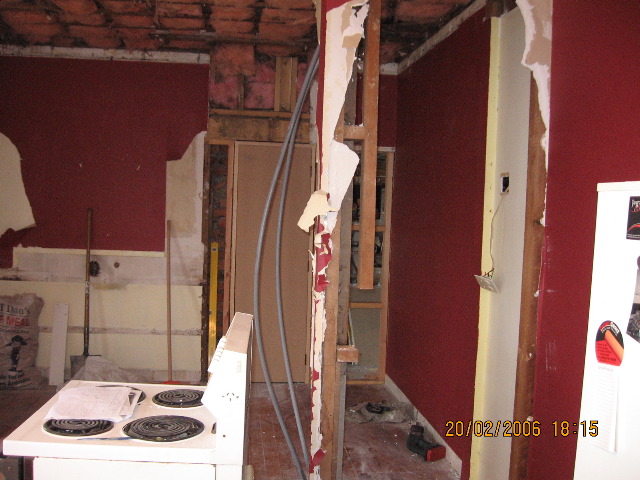
Let the chaos begin! Out go the walls, down comes the ceiling.


But not for long. New ceiling supports go up quickly and the door to the garage is moved out from the wall before we know it.
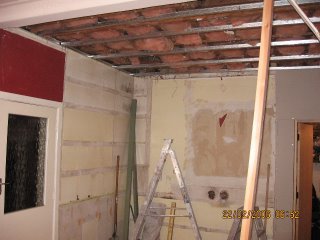


Electricians, plumbers, and builders team up in their areas of expertise to move things along rapidly. In the next two photos you can see some of the electrical moved out of the old wall into an existing wall.

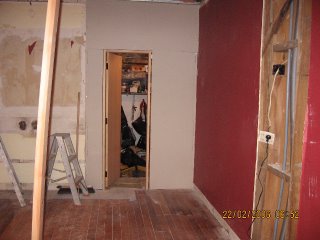


And then the corner is built out and the new cabinetry starts to arrive. The corner stove is an echo of our stove in Wichita. We saw our kitchen at the joinery, Quality Kitchens, on Monday for the first time. Karen almost cried because it looked so beautiful.
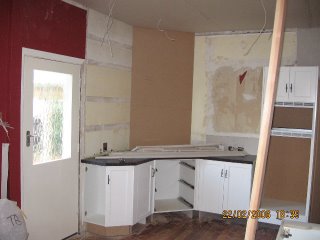


Microwave and double oven will go in the tall cabinet on the left. To the right of the doorway is a pantry with pull-out shelves and to the right of that will be our fridge.


Here you can see the upper cabinets are hung and the range hood is in place.
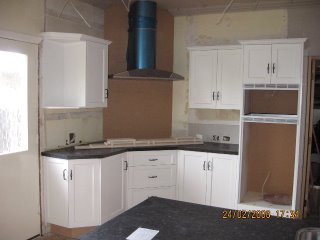


Thats a roller-door appliance cabinet. The top drawer just below the counter top will house our toaster and various related supplies.


Another view from the dining room of the new counter and sink and upper cabinetry. The main thing we're lacking at the moment is power. We've gone the last three days with no lights in the kitchen/dining room. I finally moved my desk lamp in because the days are already getting shorter and it is barely light when we need to have breakfast. We're looking forward to next week when it will all come together and we can start using it.

Sunday, January 29, 2006

You can see my house from here


Here are some STUNNING (in my opinion) pictures of our back yard. These were taken by Chris Mikesell and the dude knows how to take a snapshot.


Friday, January 13, 2006

New York

Hey all. In the whirlwind holiday season, we somehow wound up on a 3-day trip to New York with the Economics Student Association. I thought I'd share some of my pictures - I'm warning you all, though. I'm a spectacularly bad picture-taker. I get panicked and try to snap a photo as inconspicuously as possible, and then hurry away in case anyone saw me. I only wound up with 23 pictures total. Thank goodness a friend came along and got some decent shots. Here's the highlights from my collection:
This mosaic is in the UN. The UN was our first stop, we had a guided tour with alotted time for picture-taking. As such, it is tied with the Rockefeller Center for greatest number of pictures (3). Speaking of Rockefeller Center (which I could do all day, just 'cause it's such a fun word to say) here's the famous tree, sans top (don't know how that happened....)
Next we have JF at Saks Fifth Avenue . The name is on the window, but it's hard to read. There was a pretty ground-breaking sociolinguistic study done at Saks Fifth Avenue (and Macy's. See Friend for that photo.) We went in, but not being in the market for a Louis Vuitton bag, didn't hang around long. Here's the Statue of Liberty, at a distance, at dusk. We didn't have time to go to the Statue and Ellis Island, and wouldn't even have been allowed to go inside the *base* of the structure 'cause we didn't get there in time (Note to anyone going to New York: be prepared to be really pissed about the Statue of Liberty. They have many ways of getting to you.) Ellis Island was REALLY cool; alas, no photos. Finally, one from Times Square for John and a shot of the city from the ferry to Ellis Island. :) Lack of pictures and all, we still had a really awesome time.